Hello everyone, and welcome to what may be the worst blog post I’ve ever posted on this website.
So, last Christmas my wonderful and supportive family decided that what I truly deserved was to get mercilessly dunked on by gifting me the meanest thing you can gift an archaeologist (well, second meanest thing, I think the first meanest thing is a copy of Graham Hancock’s Fingerprints of the Gods)…a toy FOSSIL excavation kit. Ugh.
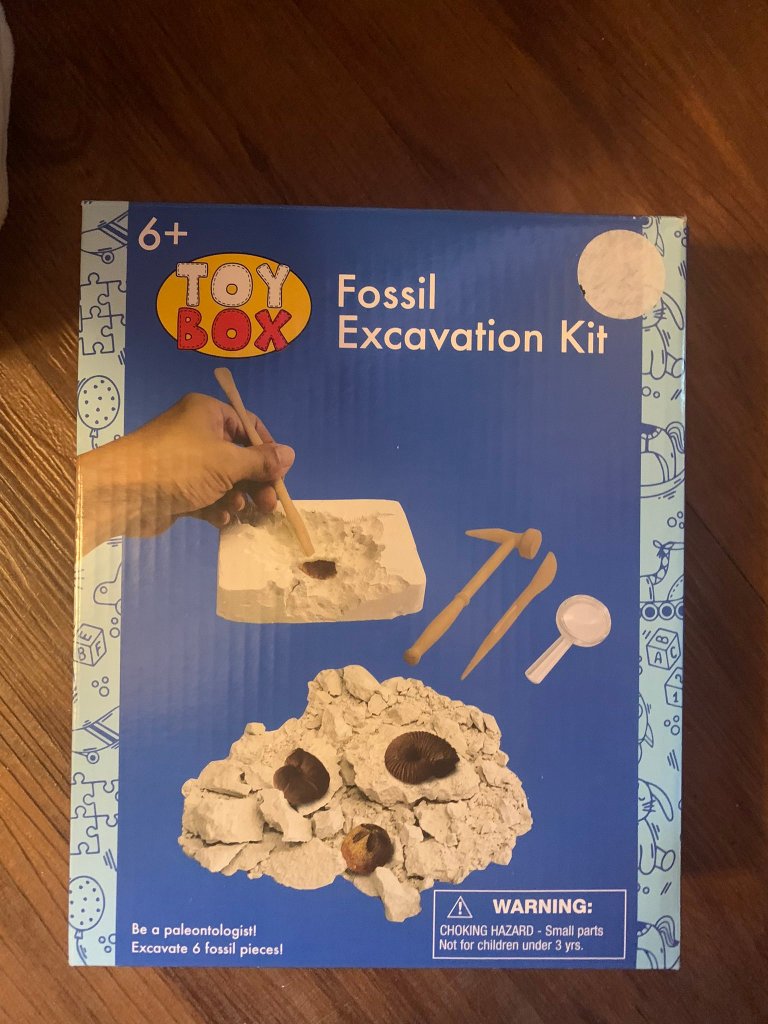
Well, it’s been sat in my office for over 6 months and I figured…you know what? I think it’s time to crack this thing open and turn it into a blog post about how to excavate properly despite it being 1) several years since I last excavated and 2) a literal toy.
But the demand to produce content beats in my eardrums, so here we are…with a slab of what I think is plaster or something? And we’re gonna excavate the hell out of it.
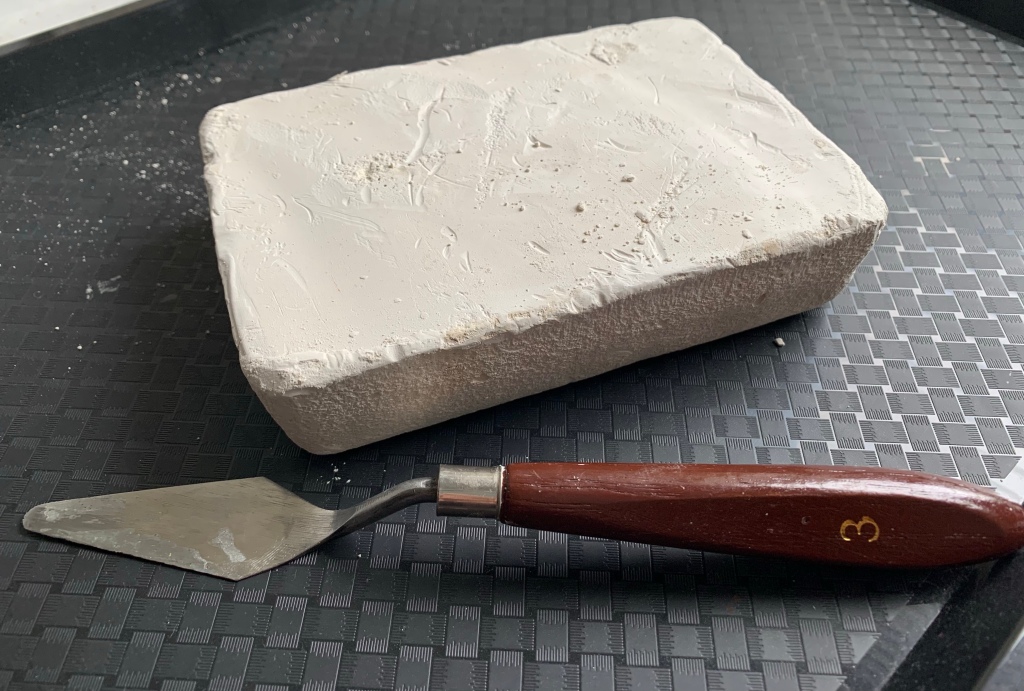
So, for better or worse, trowelling is the dance that keeps archaeology alive (or something like that, I rarely do it these days). And believe it or not, there’s actually a proper technique to doing it! Rather than hacking and stabbing away at the ground, you actually want to slightly angle the trowel towards the ground and scrape it back towards you – in a sense, you’re literally cutting away the ground in layers, which is important for maintaining stratigraphic layers and contexts. The Bamburgh Research Project has a pretty handy video tutorial if you’re looking to see this technique (and other troweling techniques) in action.
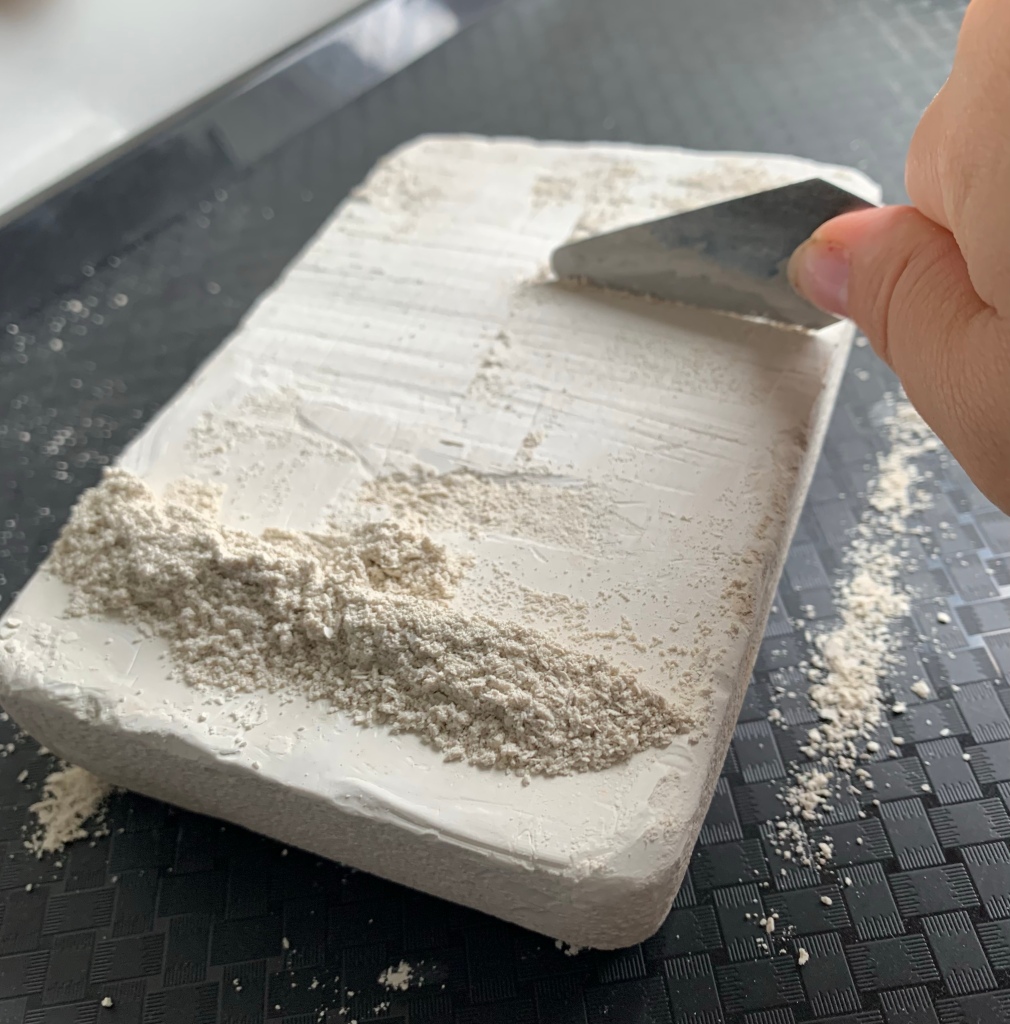
As you carefully peel back layers and layers of ground, you’ll (hopefully!) begin to see features appear – in the case of my weird plaster and plastic excavation site here, it was bits of (fake) fossils poking out from the ground. From my experience on different real life excavation sites, the use of brushes can be a contentious topic but given the very, very, very low stakes of this particular excavation, I’ll take the chance and use a cheap paintbrush to reveal some more of the features just peeking out from the stratigraphy.
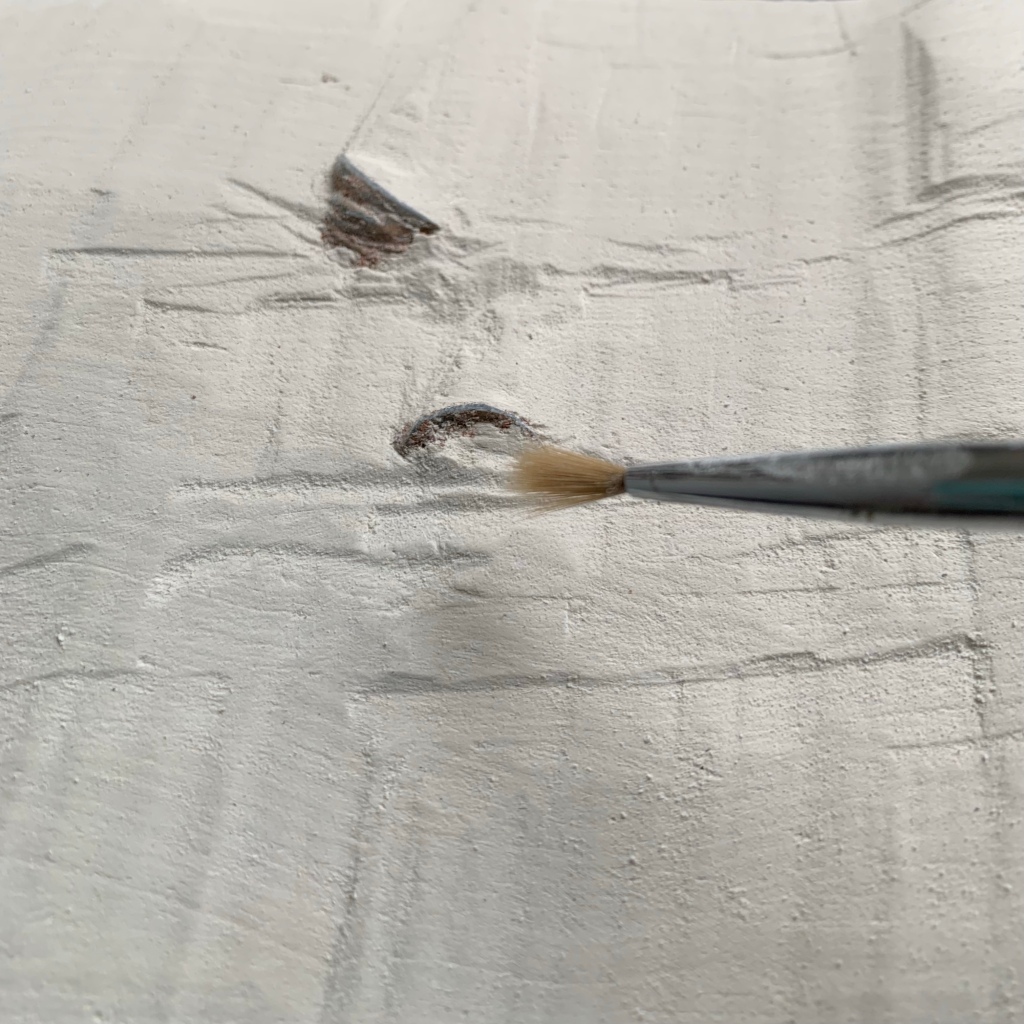
One of the most difficult things you learn when you start excavating is to overcome the urge to just start immediately hacking away at the ground around an in situ find and attempt to dig it up – not only are some finds best left in the ground, but this is also a very good way to accidentally destroy fragile remains! I definitely have never accidentally torn up an animal bone through mindlessly trowelling, I can assure you of that…
Anyway, what you do need to do is to continue your careful trowelling technique around these features – it’ll take a lot more time to uncover these features more fully, but it also makes you do it more carefully as well.
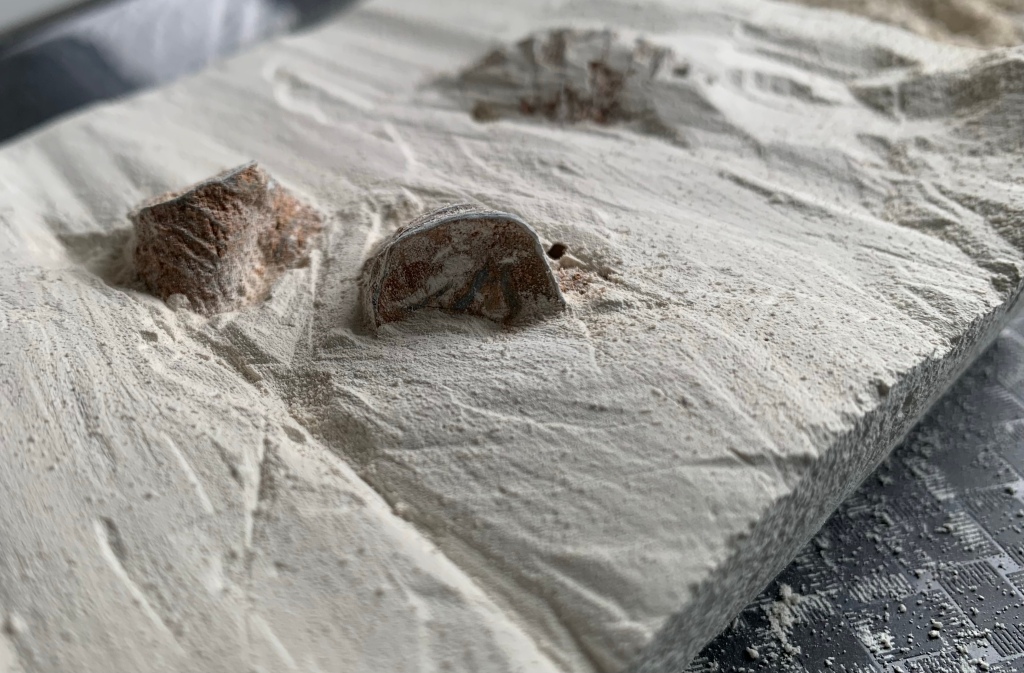
Previously I mentioned the word in situ before – translated literally from Latin, it means “in position” or “on site”. Archaeologically, it refers to artefacts or remains that have been left in the place where it had been deposited – basically, it hasn’t been moved once excavated. Of course, archaeologists do tend to recover and remove artefacts and remains from excavation sites eventually, but there are various reasons why you may keep something in situ, even temporarily. It might be that the artefacts or remains in question are far too fragile to remove. It may also be that you’re looking to further analyse the relationship between artefacts/remains and the place they have been deposited in.
Regardless, archaeologists may try to capture in situ finds by photographing them, and that’s where my favourite part of excavation comes into play: photo-cleaning! It’s a very meticulous and careful cleaning of in situ finds and other archaeological features for the purposes of photographing them and somehow I absolutely love this process (to the point that I became the go-to photo-cleaner at the first site I excavated at). I just find it very relaxing and even meditative, to be honest. Maybe the lack of photo-cleaning in my life is why my mental health is so bad? Who knows!
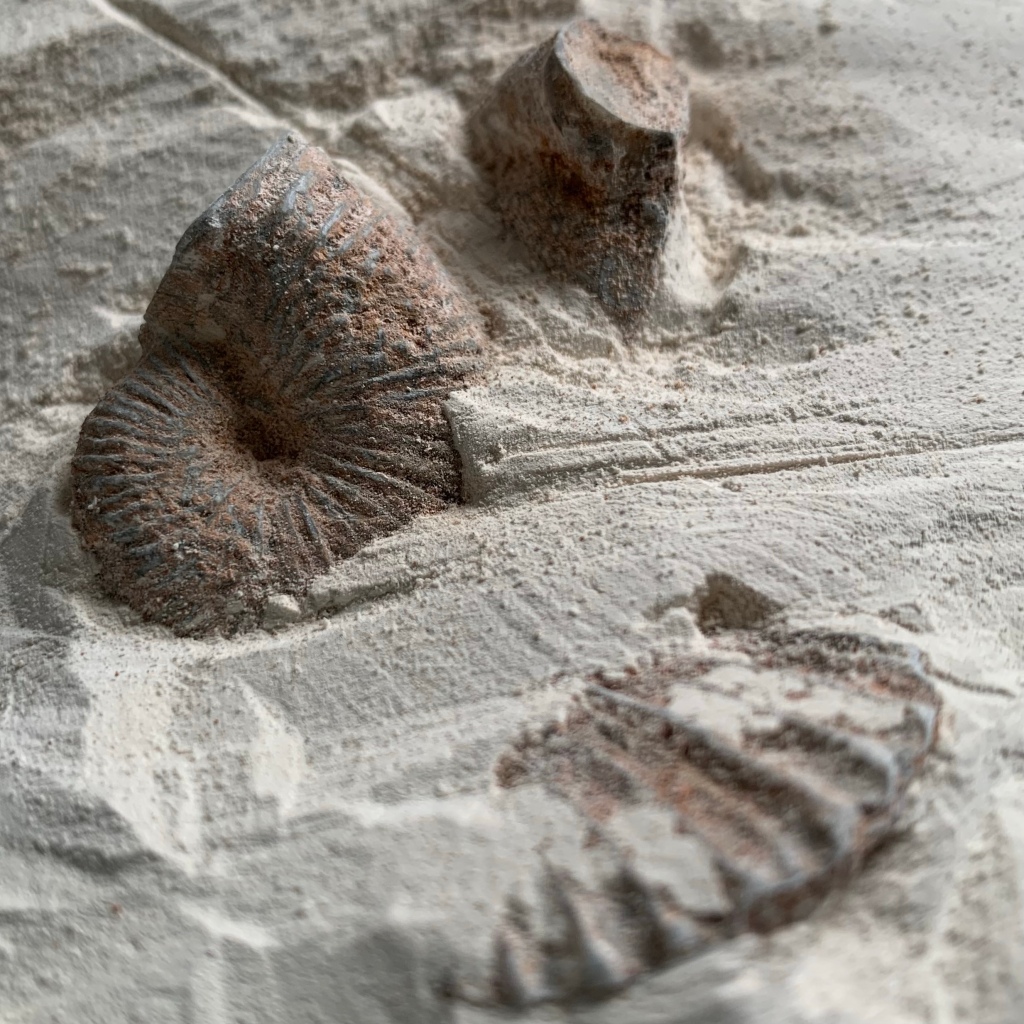
While all of this excavating is happening, you’ll probably end up with a lot of excess soil (or, in this particular case, plaster) taken off from trowelling and brushing. In a normal site, this would be scooped into buckets and run through a sieve in order to catch any smaller finds before being dumped into what is called a “soil heap”.
For today’s toy excavation, I’ll confess that I didn’t think a cheap little excavation set would also include microscopic microfauna remains in the plaster, so I didn’t really do any due diligence by sieving. I hope you can all forgive me.

At this point we’ve basically finished up our excavation work and can now move on to the post-excavation work – for real excavations, this can range from cleaning finds to identifying and analysing them with a bit more depth. But for us? Yeah, we’re just gonna dump these crappy little plastic things into the bathroom sink.
Like excavations, post-excavation methods can vary between projects and supervisors, even to little tasks such as a cleaning. For example, many zooarchaeologists swear by using toothbrushes for cleaning animal bones – however, I’ve always been taught to avoid them like the plague as they can produce microwear on bones that can be mistaken later on for archaeological characteristics. Instead, I mostly use sponges – particularly make-up sponges.
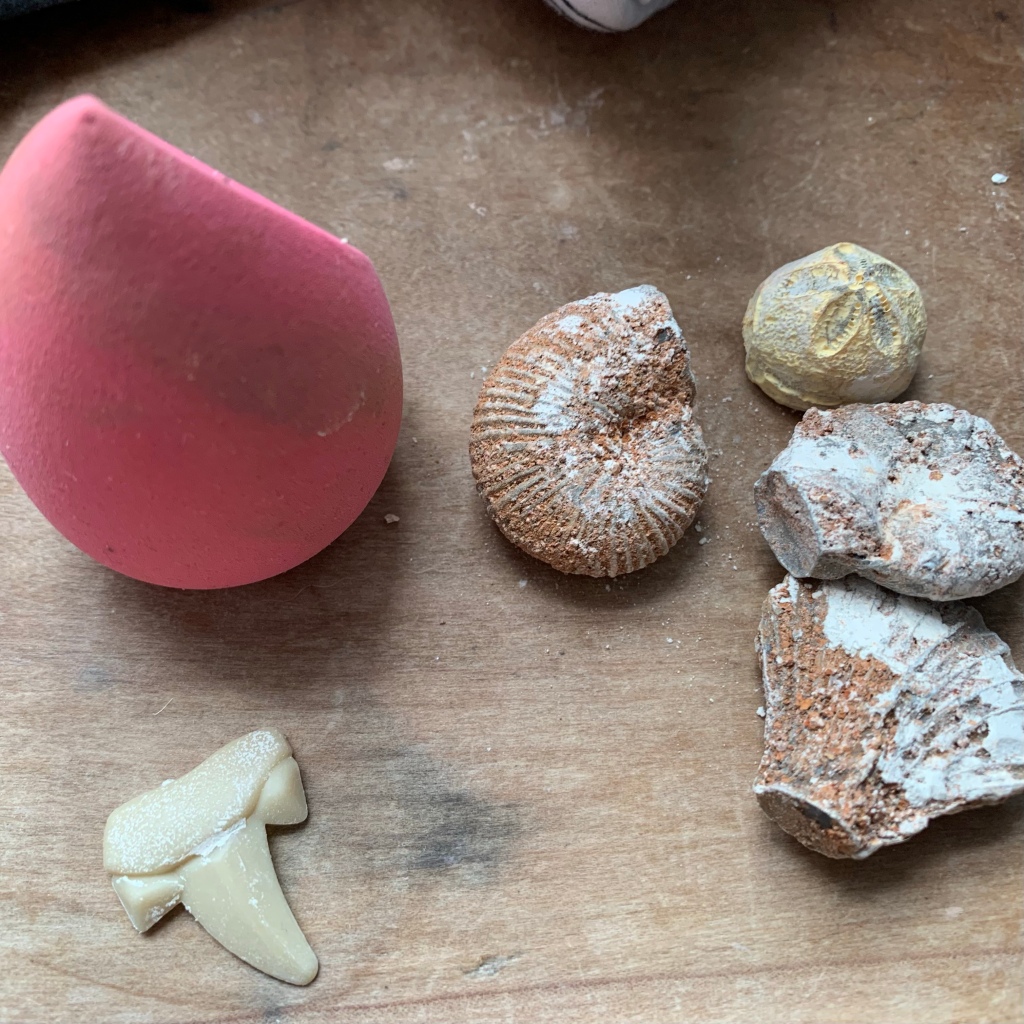
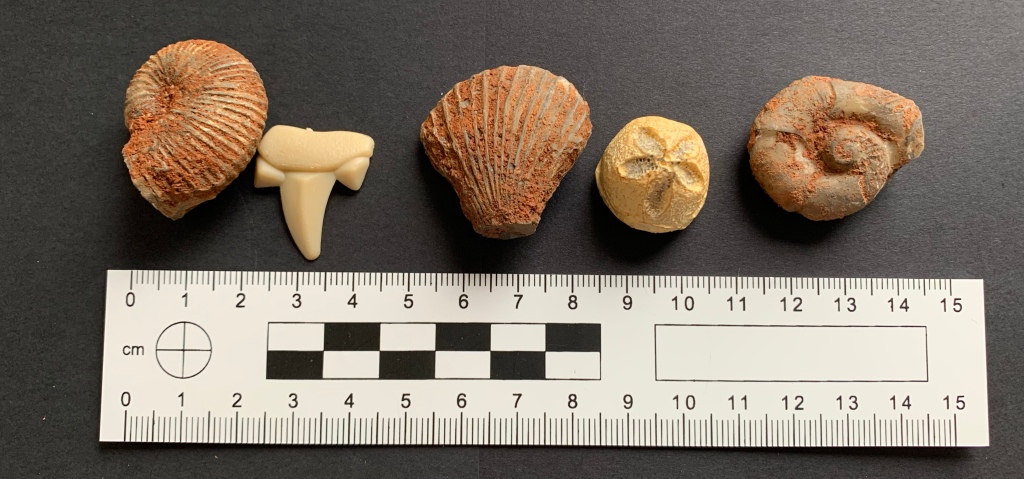
After everything is cleaned up, you’re now able to do whatever sort of analyses you’ve had planned for your finds and can also photograph them (with appropriate scales of course!). Or, if you’re excavating a cheap toy like I am, you can take a bunch of photos for your blog and then toss the fossils into a plant pot as decoration that will probably get forgotten about in a few weeks.
Frankly, I’m not even sure that’s really not too different from some archaeologists who have boxes and boxes of archaeological finds in storage somewhere…
Anyway, thanks for joining me on the most archaeological fieldwork I’ve done in the past five years.
I have a PhD in this crap.
What the hell happened.
If you’re financially stable enough, why not donate to help out marginalised archaeologists in need via the Black Trowel Collective Microgrants? You can subscribe to their Patreon to become a monthly donor, or do a one-time donation via PayPal.
My work and independent research is supported almost entirely by the generosity of readers – if you’re interested in contributing a tiny bit, you can donate here.
